
Hello Everyone!!!
Thank you so much for your active participation in Challenge#44,this is Tanvi here with a new challenge for the fortnight. Before I proceed i wanted to highlight that several entries were disqualified last time as they didn't follow the rules. Request all to please read all rules. We are highlighting the same again this time for you guys!
Challenge # 45
3D projects - Use cutting Dies
Qualification Guidelines
1. Be a follower of our blog.
2. Please link new entries only.
3. Please link back to the challenge post in the entry post on your blog.
4. Please enter the link to the specific blog post, not the blog.
5. Drop in a line in the comment box when you've submitted your entry. That way, we can hop on over to your blog, take a look and leave you some love. :)
6. You may link to a maximum of 5 Challenges, including this one.
7. We will accept a maximum of THREE entries per person. Please add (2) and (3) next to your name for your second and third entries, respectively.
8. International crafters are welcome to participate. However, if you win, your prize will be sent to an Indian address only.
9. Please disable word verification from your blog to help our DT members leave a comment easily.
10.Lastly, if you are confused about what to create for a specific challenge, leave us a comment on the challenge page or write to hello@lulupu.com (with the name of the Challenge in the subject line) with your questions before you start work and one of us will get in touch with you to help you out.
Challenge#45 Rules
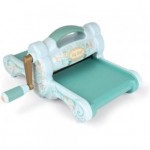
1. Get creative with you dies! Make a 3D project with cutting dies. Sorry using TEMPLATES will not qualify! But you can use electronic die cutting machines :)
2. Anything goes...............a box, a frame, a bag, a house or even a castle! Get creative!
But remember the dies must form the base of your creation & not just used for layering or embellishing.We would love to see what you create.
If you have any queries please feel free to comment & we will be happy to help.
But remember the dies must form the base of your creation & not just used for layering or embellishing.We would love to see what you create.
If you have any queries please feel free to comment & we will be happy to help.
3. You have time until 31st January 2015, 11:55 PM IST to submit your projects.
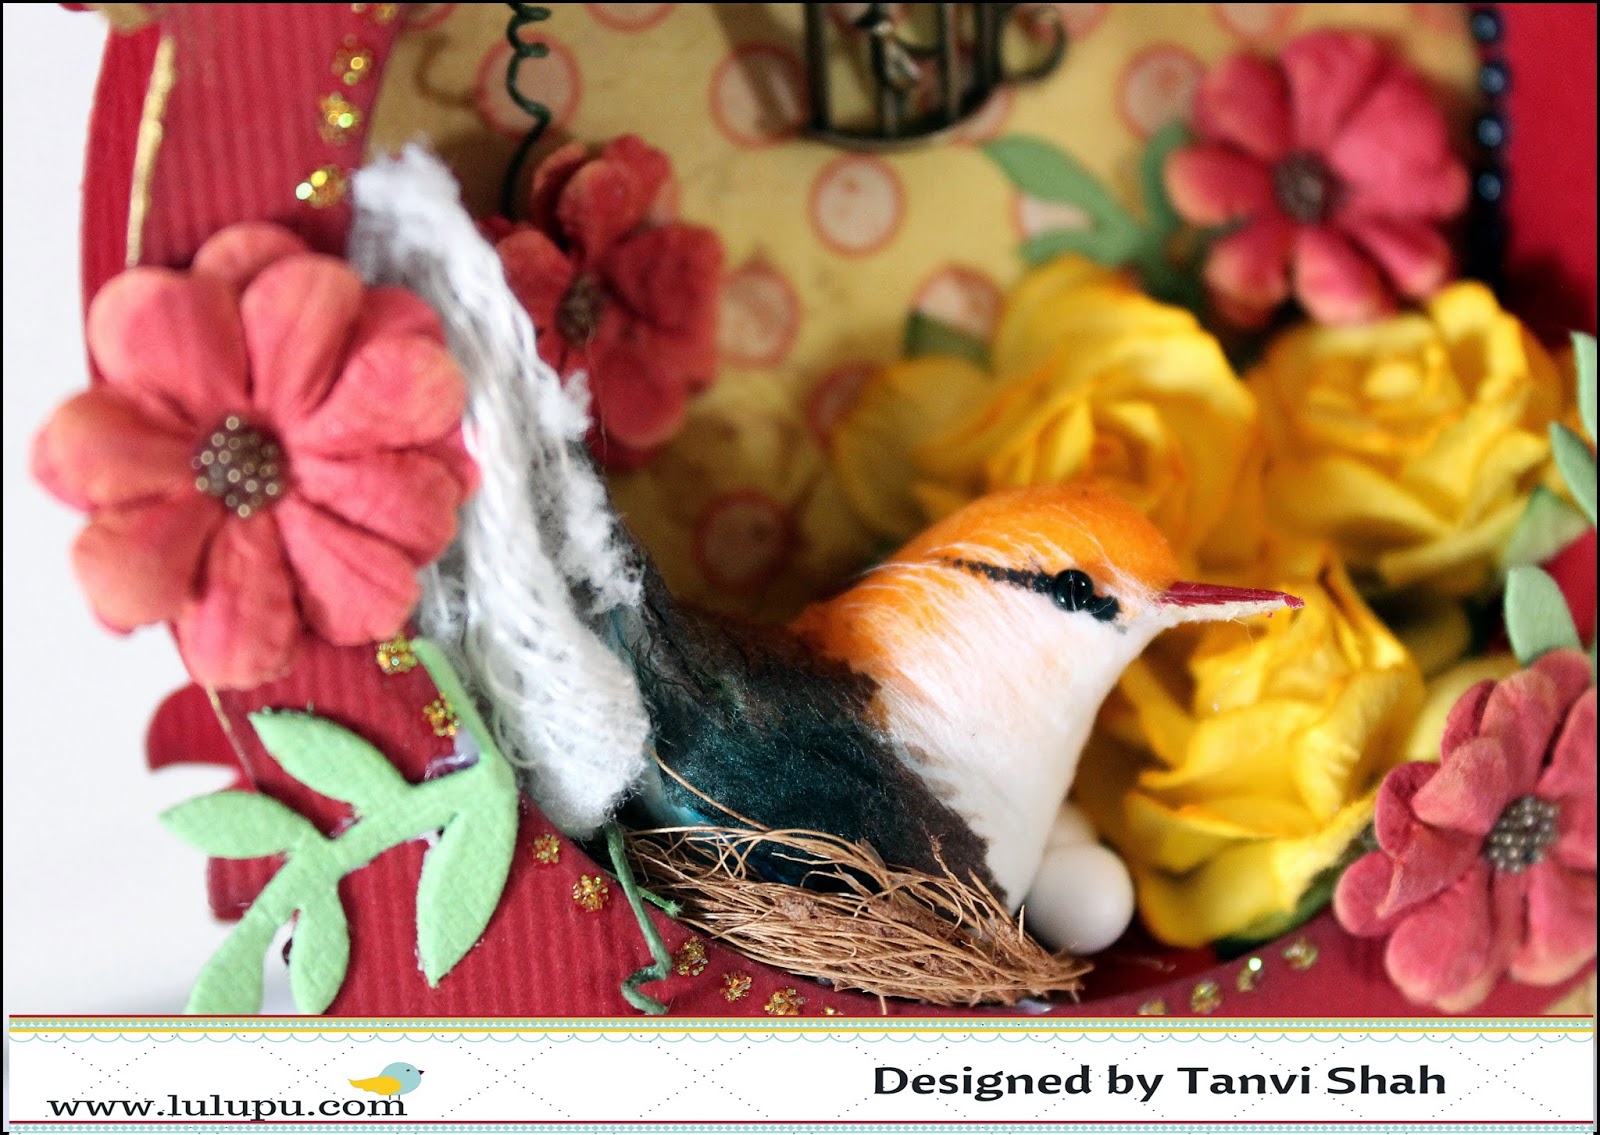
Now here is what I made.........a shadow box! Yes you can make your own one of a kind shadow box using any of your nesting/large shape dies! Walk through the following tutorial with me to learn how easy it is to make a shadow box!

Some more pics to show you the embellishments.....

The edge of the die cut is inked & buffed with Inka gold........the dangling flower & birdie are embellishments made from shrink plastic.


This is how you will make the box -
1. First cut two shapes using the largest die in the Spellbinders Nestabilities - Gold Majesty Circles set (TIP - use a sturdy card stock so that it holds your embellishments! Remember you can use any die you have.


2. I cut the center out of one of the die cuts to make an opening....you can do this manually if you do not have a coordinating die or use a smaller nesting dies.


3. Finally, to assemble the box I glued the to shapes with a paper strip (1" wide) & viola I made my own shadow box in 1-2-3 steps!


Hope you like my take on this challenge..........what better way to make the best of our resources & we would love to see what you create!
And here's what the winner receives!
Memory Box Bali Corner Memory Die

And here's what the winner receives!
Memory Box Bali Corner Memory Die
Supplies from Lulupu Store:


Please link your entry below -
Wonderful shadow box Tanvi and thanks for sharing the steps...challenge has nice theme but not for me...:(
ReplyDeleteWhy Shalu!! Thanks a lot, would love you participation!
DeleteEverything about your project is just Wow !! Tanvi ..love all the beautiful details and the way you have created a custom shadow box ..What a Clever idea !!..Thank you so much for the tutorial ..love this !!!
ReplyDeleteThank you Hussena!
DeleteLoved the shadow box!! and soo nicely explained with simple steps! Cant wait to try out mine!! :) Thank you for the tutorial
ReplyDeletePlease do make one Manu! Thank you.
DeleteLoved the self made shadow box ! Thanks for sharing the steps Tanvi :)
ReplyDeleteThanks Pooja!
DeleteShadow box looks gorgeous Tanvi!!! I will definitely try to make one. Tfs tutorial!!!!
ReplyDeleteDo share what you make Neha.......thanks a lot!
DeleteTanvi. Lovely tutorial for the shadow box. Beautifully done. TFS :)
ReplyDeleteThanks a lot Dolly.
DeleteWhat a beauty.Love the vibrant red and gold! Tanvi do you need to get any extra accessories for the Spellbinders gold dies...I read somewhere extras were required so only didnt pick them up?
ReplyDeleteThanks Sonia.......no extras needed Sonia, just run it 2-3 times through the machine.
DeleteThank you Tanvi
DeleteAwesome idea & neat execution. Love those shrink plastic thing...:)
ReplyDeleteI too love shrink plastic! Thank you Neha!
Deletethank you for the lovely challenge..I have linked my take on the challenge..
ReplyDeleteAwesome challenge and creative topic .. Thank u for creating one :)
ReplyDeleteHi Lulupu team!
ReplyDeleteThis was a tricky challenge but was very interesting and boosted the creativity :) I have managed to create baby box with my bigshot and some dies.:)