Showing posts with label Challenge#32. Show all posts

Tuesday, 17 June 2014

Winner and Top 3 for Challenge #32

Good Morning Everyone,

Kripa here to announce the Winner and Top 3 of our


We had some really beautiful entries and very happy that you are sharing your artsy adventures with us.
Lets start with...

Special Mention


Top 3 (No particular order)


And the Winner is....
 
A gorgeous mixed media background, the interesting layers built with doilies, flowers - simply stunning!
 
 
Congratulations everyone!!

Please grab your respective  badges from here.

And Neha, pls mail to hello@lulupu.com to claim your prize.

We are waiting to see more of your gorgeous creations for our current challenge inspired by the New Lulupu Layout.

Friday, 13 June 2014

Guest Designer - Erum

Hello Everyone,
Shilpa here,
Some crafters steal our heart with their creations,
and Erum (ET) from Vibgyyour Krafts is one of them...
and we are super excited to have her as our Guest Designer yet again here at Lulupu blog today,
for 
We have enjoyed her cards and creativity in our challenges, many times she is a winner....
Please Welcome, Erum,


"Hey everyone! I am Erum aka E.T. from VIBGYOR Krafts. This is my Hat trick post as GDT at Lulupu! I was so excited when I saw my card as one of the favs. This time I played along with Lulupu's sketch challenge in a different card style, no it's not shabby chic - a bit grungy this time around. I hope you will like it and I hope you will stop by my BLOG to leave a bit of love."

Here is my card...


This color combination was given to me by a customer of mine and I was very unsure of it :) My card consists of two panels for the background. I heat embossed chevron background for the top panel and did second generation stamping on the blue panel. I added a deep red panel to add an oomph to the dull design and it made all the difference, the doily lace in soft pink adds interest and gels the blue with the background. After the background was all set, I diecut the flower, stamped a texty stamp on it and ink distressed it a bit so it wouldnt look stark white against the background. Added my favourite frame and some gears to bring everything together. In the end I decided to add a bit of sparkle with some glitter enamel dots! Thats it! I hope you like it."


Monday, 9 June 2014

Mixed Media Canvas

Hello Beautiful Crafters
Shilpa here today with Mixed Media Canvas,
which is inspired by A Sketch given by Jaya for 

I liked the sketch so much, that I used it as it is and tried to bring small details on my canvas.


To divide the canvas in two parts, which you can see in a sketch, I used two different stencils to create the texture.  Upper part has done with Crafters workshop Mini Spinning Tops stencil and lower part with Memory box Rhapsody stencil, I love this design. I've used Shabby shutters and Squeezed Lemonade distress paints to bring the color on canvas.


I've also done texture stamping in the background with Peeled paint distress ink, Cofee Archival ink, Prima Square stiches stamp, text stamp and tiny circle stamp.


Lulupu store has these wonderful Wood Veneer Journal Cards from Studio Calico, its use is versatile. I used it as a center piece. I brought texture and color on it to match with background. Ohh, yes and the Prima junkyard light bulb, isn't it gorgeous? I made it my flower vase. And the main attraction is the dimensional Pink Flower stickers from Ek Success.  

I hope my mixed media canvas inspired you to link up your beautiful creations to our current sketch
waiting to see what you come up with the sketch.....

Lots of Love,
Shilpa


Thursday, 5 June 2014

A step by step Mixed Media Layout

Hello friends,

Kripa here with my take on challenge #32. Have you started working on your entry with the lovely sketch that Jaya has given? Jaya made not one but two uber gorgeous canvases based on this sketch and also gave us some tips on how to interpret sketches.


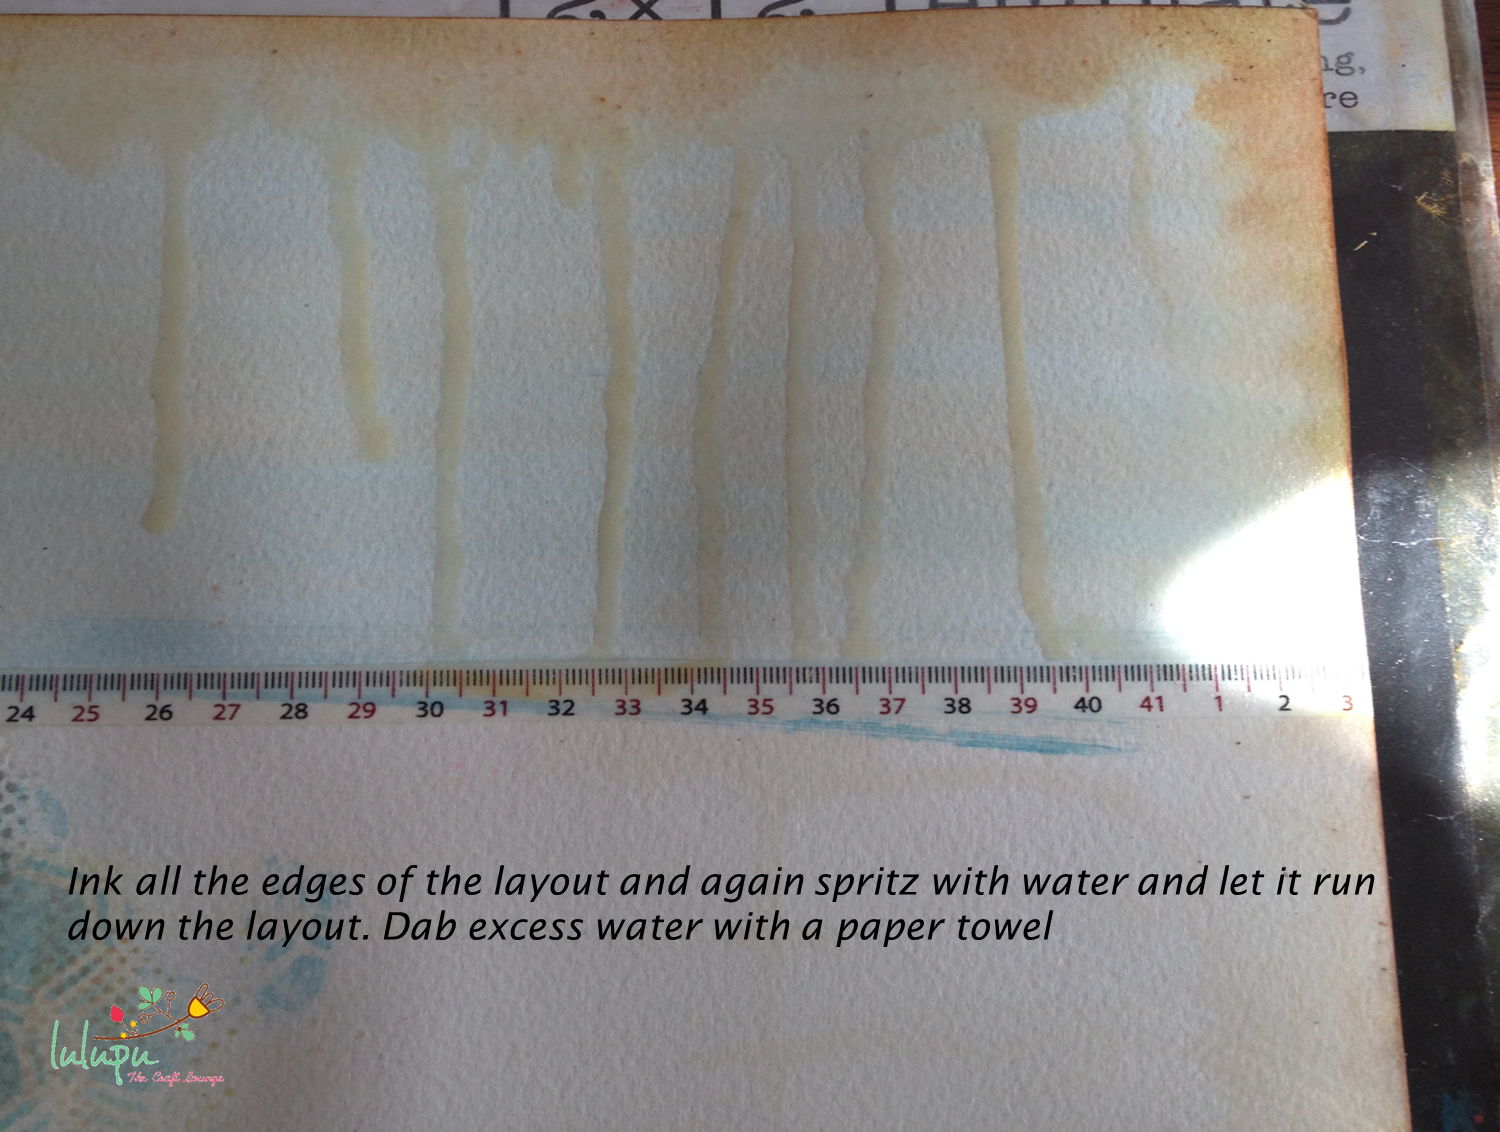
Well, to get your creative juices playing, I have a pictorial for a mixed media layout based on the sketch. 


(Picture Heavy Post)


 If you dont have a word stencil, then use any other stencil or you can also stamp words or hand paint words.


 Using pop dots to raise the photo mat, stick it on the layout. Now for another round of embellishments and final touches. Start with ink splats on the top and bottom using mists and watered down paints. 
 Add stickers again on pop dots, prima sugar dots, studio calico wood veneer - hearts, arrow and stars. Finally, stamp a border across the patter paper and the edges of the layout.
 Re ink the edges with blue or pink distress inks, outline a few stenciled images here and there and most important - Add title to the bottom right and journaling above it.

ALL DONE!


Hope I've left you inspired to give a go at the sketch. If any step isn't clear or you would like more information, drop me a comment and Ill get back to you. Look forward to seeing your creations.


Supplies from the Lulupu Store: