Showing posts with label envelope punch board. Show all posts

Monday, 16 February 2015

Envelope Punch Board - Tag Book Tutorial


This is Tanvi wishing you a very happy Monday morning!

Sharing a mini tag book I made using the WRMK  envelope punch board. I intend to use it as a birthday/anniversary reminder booklet. This is very easy peasy & quick to make with punch board.........simply trim the paper to the required size.........punch & score. All the six pockets & tags I have in my book were ready in minutes!
Here is a video (this is my first attempt at making one, so please do leave a comment to help me improve) showing you the basics to create an envelope & also how to use it to make the tags.


Now isn't this super simple & how user friendly the punch board is!

Once you have the six envelopes & six tags for this mini, embellish/stamp/decorate each one of these.
Make a chip board cover, punch & use a ribbon/scrapbook ring/twine to hold all the pockets together.


These are the pictures of the finished tag book measuring just over 3x4" -


I love the wood veneer speech bubble  & the flower weave trim here!


The new crochet laces at the store were perfect to highlight the little pockets! I have six tags (1 for 2 months).


Used the enchanted garden & lady rose stamps from Kaisercraft to stamp some quotes in the inside.


Thank you for visiting us today & remember our challenges are monthly now so you have until Feb. 28th to share your projects for  - LOVE you sweets.


Products used from the store: 

Monday, 29 July 2013

Product Review: The Envelope Maker!

Hey everyone..

Pratiksha here today. Its a Product review time. So i thought how about a little tute on latest product at Lulupu.com


Its the best buy that I've ever made after I purchased my big shot!!

Oh yes, dont forget to take part in Lulupu's share and win contest. Just post a project with 2 or more lulupu goodies :)

Ofcourse one can make envelopes with scoreboards as well, but this one makes life sooooo easy! Trust me! Because it also does the punching saving you time on cutting the corners! :) All you have to do is simply choose the size of the envelope you want from the sizes listed on the board itself and simply trim your paper down to the measurements mentioned. Then rotate and punch at the measurement and score and thats it!
ITS EASY PEASY!

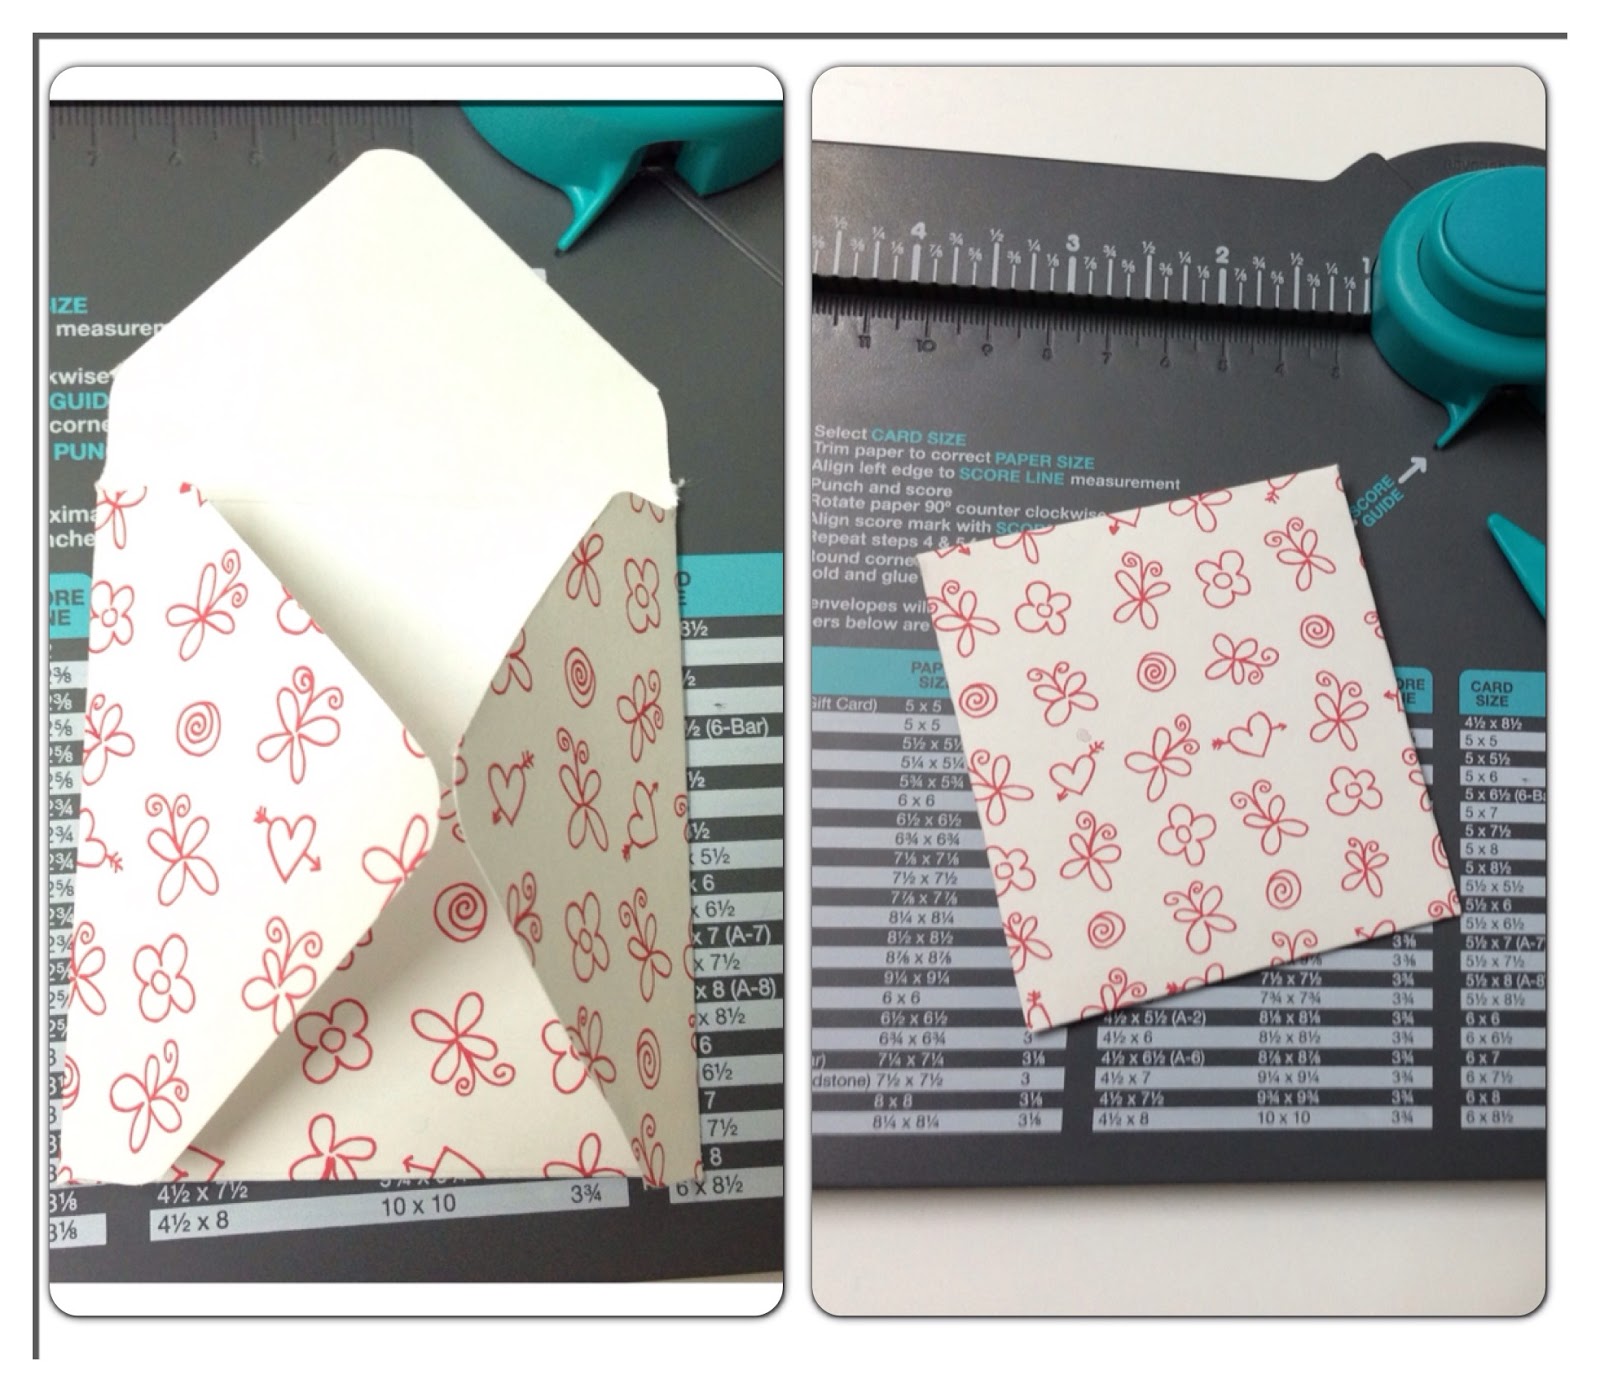
STEP1: Gather your supplies- paper, some adhesive, and the board :)

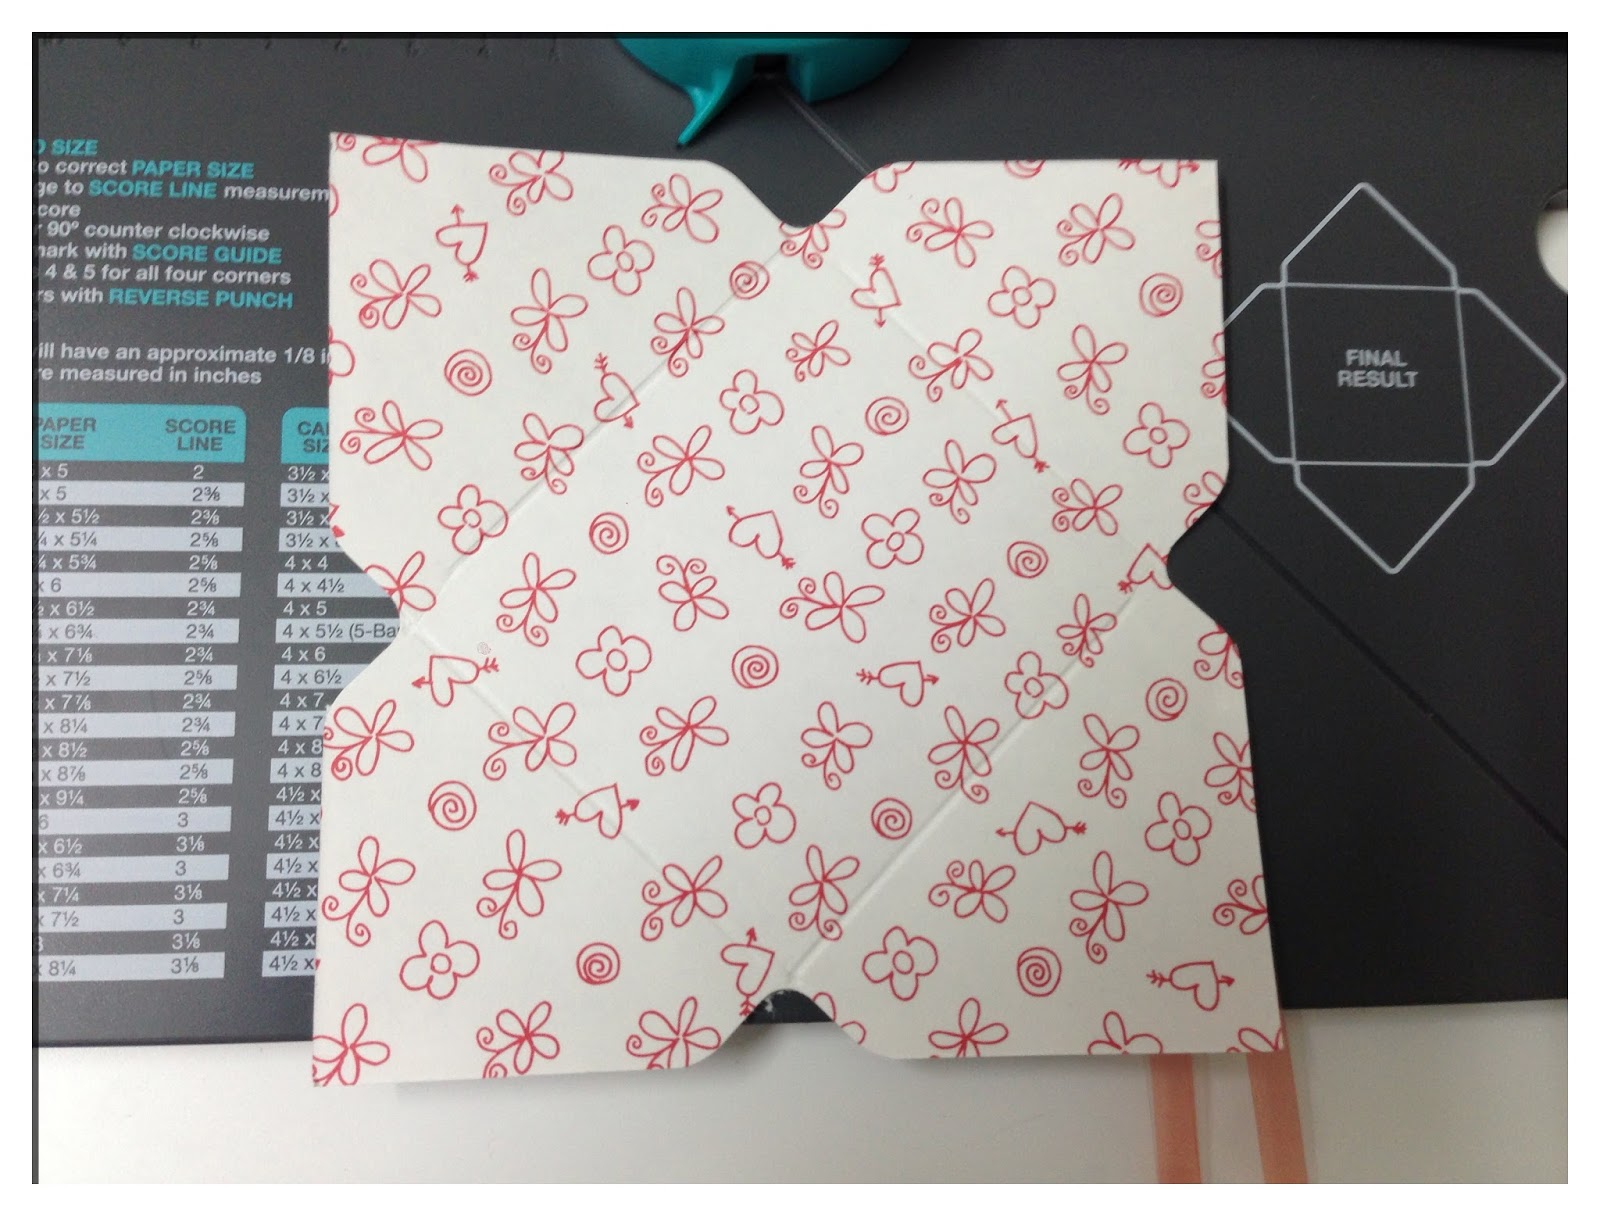
STEP 2: Using the grid mentioned, place your sheet at the specific measurement and punch, then score.

STEP 3: Rotate your sheet and then align your score line with the little blue line at the centre.

STEP 4: Repeat for all four sides 

STEP 5: Place your corners at the back of the punch (its a corner rounder as well!)

STEP 6: Fold your scored lines and glue! 


Like i said.. Easy! :)

TIPS:

1. Make sure that you align your first measurement accurately or you will have a wonky envelope.
2. Same goes for aligning the score lines with the blue tip.
3. The bone folder is best used at 45' angle else it might pierce your paper.
4. Although it works with most papers, very thick papers may not punch cleanly.

I also love the fact that the bone folder is within the board itself hence no fear of losing it! And also that the inbuilt corner rounder is so convenient!! It rounds almost all my papers.. :)

Here is how I used my envelopes. I've used memory box dies on all of them. Aren't they beautiful? Clean cut lines with beautiful shapes! Check them out at the Lulupu store here!


Don't forget to take part in this month's challenge Colour crush-twist use dies. Its great fun and what lovely colours to work with! :)

Love 
Pratiksha

SUPPLIES USED: