Showing posts with label embossing enamel. Show all posts

Wednesday, 30 September 2015

Sparkle shine- Wall art + Tutorial

Hello friends!!!
Neha here, today I am sharing with you a wall- art along with a pictorial. After a long time (one and a half month) I am back to crafting as due to some personal reasons I had to go out of station. But now I am back and very much excited to try my hand at new things. 
This month lulupu's design team is sharing different tips and techniques to add sparkle and shine in your projects, In this project I have used Glitter EP, Embossing enamel, sequins, glass glitter and glitter glue.

Checkout the guidelines and more about this months theme here


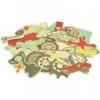
  Here is my inspiration 


I started with some PPs of different shape and sizes and matted them over each other. Used Glitter EP through different stencils randomly here and there. Arranged some die cuts and embellished it. The two big roses are handmade using punches and colored using worn lipstick DI. I just loved the way it turned out finally; super sparkly and glittery. This will be framed now and will be gifted to a friend. I hope she likes it. 

Glitter EPs can be used very easily to add sparkle and bling to your projects and here I have used them with different stencils. Similarly Embossing enamels can be used to decorate your mdf embellishments and trust me they look much more gorgeous afterwards. Glitter glue like stickles can be used over floral embellishments and Prima glass glitter can be used with metal charms, resin frames and as it is over the surface using glossy accents or gel medium.  

Some close up pics.

Mdf embossed with embossing enamel


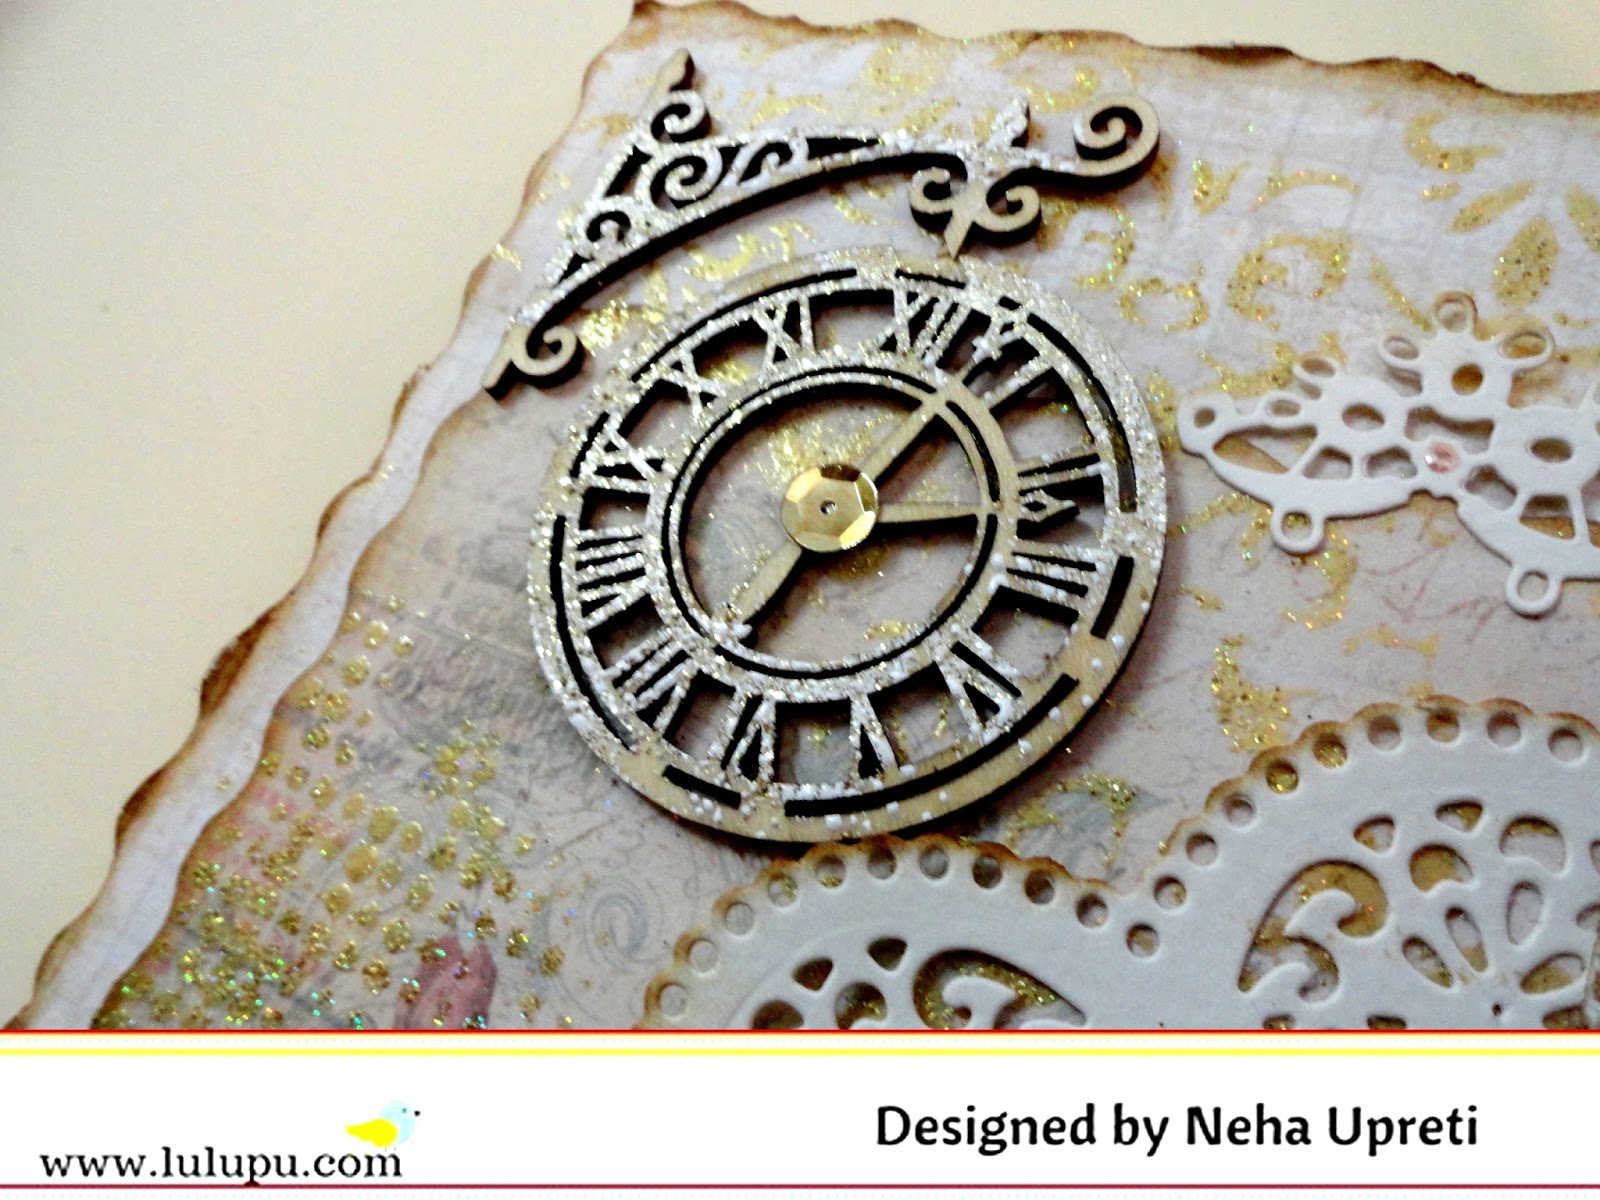
I have used stickles glitter glue over handmade roses and glass glitter around the flowers using glossy accents


Well now here is the step by step tutorial along with pics.

1. Take 4 pattern papers of your choice (size of larger one is approx 10*10"). I have altered the edges of two big ones using designer scissors. The edges of smaller ones have been distressed with the help of scissor. 


2. Distress all  of them with vintage photo DI and stick three of them over each other as shown in pic.


3. Next dab Versamark watemark ink pad through a stencil and emboss it with glittered Golden EP. I did this randomly using two different stencils.


4. Arrange some die cuts (distress them with vintage photo DI and place the next PP (this comes below photo mat)


5. Take some mdf embellishments of your choice and heat emboss them with Frantage shabby chic embossing enamel. This adds a very sparkly effect to them. 


6. Now embellish your layout with mdf, flowers, pollens etc. I have also added some glass glitter from Prima (using glossy accents) near the floral arrangement and some golden sequins.  
Your super glittery and sparkling wall frame is ready!

Hope you like it!!! Today is the last day to link your entries for the current challenge and you can do it here


Supplies form store:

                                                         Gold Essential Sequins

Monday, 20 April 2015

Shadow box tutorial

Hello Friends,
Neha here. I think you guys are enjoying water- coloring very much as I can see so many entries for the current challenge. There is still a lot of time left for entering the challenge so take out your watercolors and get started.
Water Colors

Toady I am sharing with you a tutorial on how to make your own shadow boxes using paper. Here I have made a 12"*12" shadow box using a sturdy black CS. 


Shadow box


Some close ups


The whole shadow box has been made from scratch and it was very easy too. I have decorated shadow box in a masculine theme as I will be gifting this to my brother on his birthday. I have used Ranger Distress crackle paint all over the edges of shadow box. These days I am really addicted to using it (I am using it in almost each project I am making these days). Thereafter I have rubbed  steam punk gelatos (iced chai and iced coffee) over it.  This gave a cool effect! I also heat embossed on some places with golden embossing enamel. Then decorated it with pattern papers, gears (heat embossed with golden EP), Die- cuts, sentiment (stamped and embossed), wood veneers and chain.

Here I have prepared a pictorial which will demonstrate all the steps from making a simple shadow box to the above one. Its a picture heavy post.
So lets get started.
1. Take a CS (12"* 12") and score at 11-1/2", 11", 10-1/2" and then 10". Repeat this step on all four sides.


 2. Now on one side score at 2-1/2" till the third scored line (as in the pic) and then at 9-1/2" to the third score line. Next, just flip the paper at 90° and do the above process again.
3. Cut out all the four corners.


4. Next cut at 2-1/2 and 9-1/2 scoreline, all the way to the third line. Repeat on the opposite side as well. This will create four flaps


5. Fold all the scorelines to form square shape and then glue down the side without the flaps first. Do it on the sides with flap too and lastly glue down the flaps too. Flaps will hold the edges nice and tight.
5. Decorate as per your choice with PP and embellishments.


This makes a simple shadow box. Now we will see how we can make the one with sections.

1. For making sections in the shadow box, take a CS strip, measure the length in which it fits the shadow box.
Tip: when you measure the length of the CS strip make it a little bit lengthy (by 1/8") so that it fits in exactly and no gap is seen.


2. After cutting the CS strip in desired length, score it at 1", 1-1/2", 2", 2-1/2" and fold them with a bone folder to form a square shape and then glue them down on the shadow box at the desired place s we did in above steps. 


This forms the section in the shadow box. You can make as many as you want in the similar way. Just measure the length, cut the strip, score it, fold and attach.

Final part is a 12"* 12" shadow box. Well the process is same as above, but here I took a 12"*12" black CS instead of making a shadow box. Then repeated the above steps of making sections. You can make them in any pattern you want. Just keep in mind that the CS you are using is a sturdy one. You can also make the backing of shadow box with a chipboard sheet to make it a bit more strong.

Here is the pictorial depicting above steps:


Next steps


So guys, I hope this tutorial will be helpful and you guys will give it a try!  Do let me know if there is any confusion and don't forget to take part in our current challenge here!

Hugs!!!
Neha

Supplies used from the store: