Hello and Welcome,
Shilpa here,
with special post today.
We have Nikita Azad as a Guest Designer at Lulupu blog with a challenge inspiration project, actually I can not call her a guest, because she is our own. She was a designer and blog-coordinator when I joined Lulupu. Wonderful lady inside and out. She is 'writer in making' and 'crafter by heart'.
Please welcome,
Nikita Azad

Hello
everyone! I am sooo glad guest post for Lulupu!! :) :) Many of you may know me
from when I was a part of the Design Team right here at Lulupu until recently.
But for those who don’t, here’s a little introduction. I’ll try to keep it
short. :)
I am from
Mumbai and I’ve lived here all my life. I discovered paper crafting in
June-July 2010 (four years, now) when I was hiding in my ‘study room’ trying to
do everything to escape from my CA exams. Since then, there has been no looking
back. I started with Quilling - I bought a Quilling starter kit from Hobby
Ideas and I was browsing online for tutorials when I found a few craft blogs -
and later explored card-making and scrapbook-ing too. Quilling is still my
favourite, though. As far as my crafting style is concerned, I don’t think I
have a particular style, or even if I do, I don’t know what it’s called :P. You can figure it out yourself. I blog at
infiniteemotionsblog.blogspot.com
I loooove to
write and I am currently working on a book which is why I stepped down from the
Design Team. And I guess I’m blabbing, so I’ll get straight to my inspiration
project for this challenge.
This project
was created to help someone propose. Let me elaborate. So this girl is a
photography enthusiast and her fiancé wanted to do a Hollywood style proposal
(after the official Indian engagement) with going down on one knee, et all. And
he wanted to have the ring inside a camera.
I thought,
wow, this is exciting. I get to make a camera. But when I saw what a real DSLR
camera looks like, I was wondering how I’ll be able to make a replica out of
paper with only a paper trimmer and scoreboard at hand. Then I thought that it
doesn’t have to look exactly like a REAL camera. It just has to resemble one.
So I picked a
random size – 4”wide, 2.5”tall and 2”deep – and began do draw some lines to
figure out what size of paper I’d need and where I’d need to make the cuts.
Turned out, a 9” x 10” sheet of card stock was enough to make a small box with
a flap for the box.
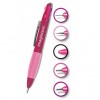
For the lens,
I just cut out a piece of CS and rolled it and adhered a die cut circle in the
end. :P Also, for the ‘click’ and ‘zoom’ buttons, I punched out circles from
white and black CS and tada the camera was done!! :D :D
Here’s a
look...


I
had the camera model he wanted, so I saw online what was written on the lens
and wrote it with a white gel pen. ;)

The
length of the lens turned out to be a little long, but hey, there are loooong
camera lenses. So it looked slightly weird but not bad.

window
can be made to look through to the other side and see what the lens will
actually capture. (I am bad with camera terminology, clearly!)

On
the inside, I added 3 layers of sponge cut to 2”x 4” each and made a slit on
the topmost layer so that it could hold the ring. :)

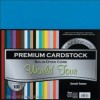
The
only thing here is that I had to use liquid glue at least to adhere the lens.
And because the CS was black, when the glue dried up, even though it dried
clear, there was a watermark kind of thing.
Apart
from that, black CS is great to work with!! :D :D
And
now, as a bonus, here are the measurements of the camera.
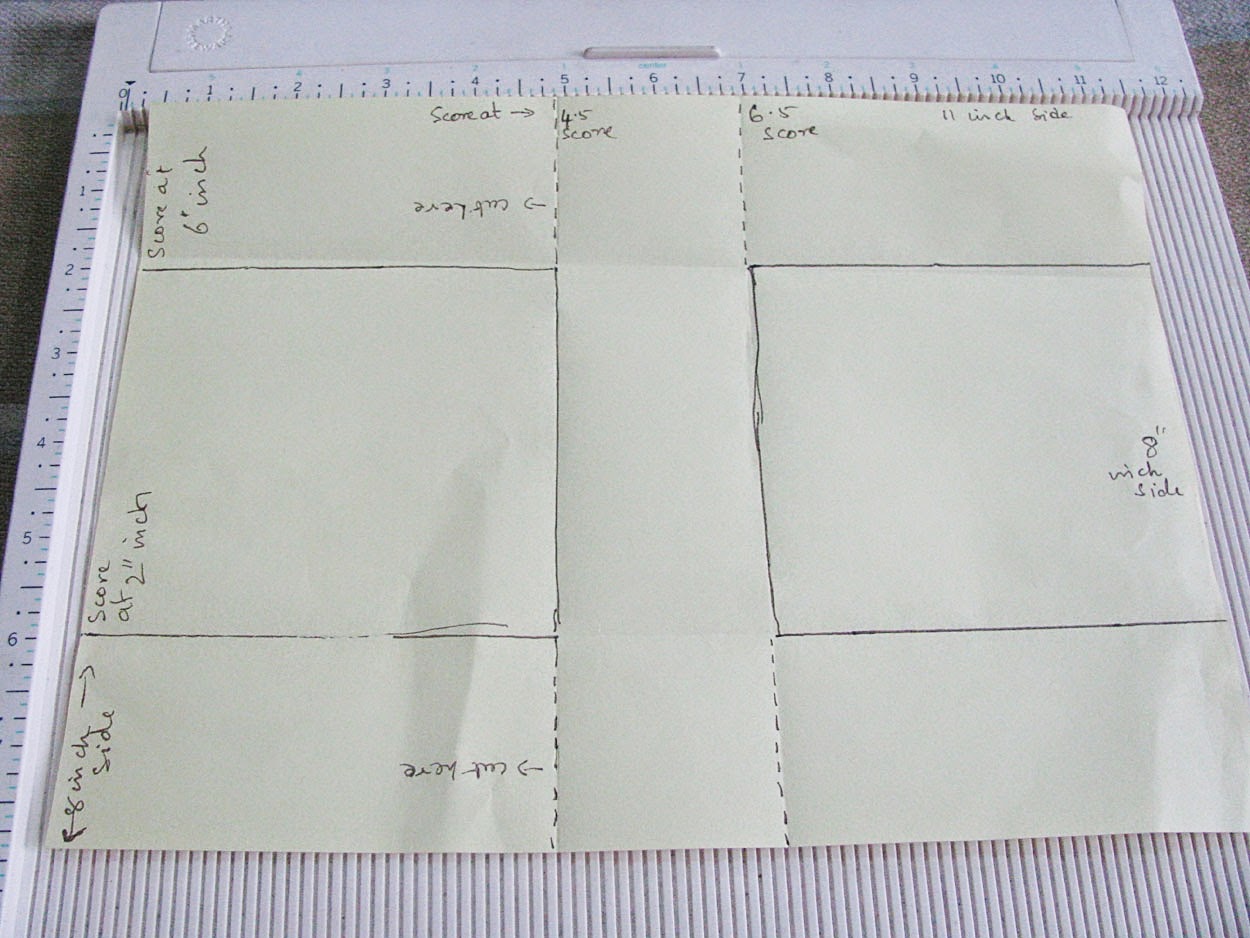
So
I didn’t know how to make this on the computer so I actually drew this and
scanned it. Turns out, the widest paper that my scanner accepts is about 8.25”
and given that one side was 9” it wouldn’t fit. So I scanned it twice and
layered one image on the other. I guess you can tell. But as long as the
message is across, who cares? :P
IMAGE
of CAMERA MEASUREMENTS

Everything
with diagonal pencil marks needs to be cut out.
All
the other lines need to be folded inwards, towards the center of the paper,
i.e., towards BODY FRONT.
BODY
LEFT has two flaps, BL1 and BL2.
BL1
will be adhered to Body Back and BL2 to Body Bottom (see pencil marks)
Similarly,
BODY RIGHT has two flaps, BR1 and BR2.
BR1
will be adhered to Body Back and BR2 to Body Bottom (see pencil marks)
If
you have any questions or are unable to understand the diagram (yes, I’m
calling it that! :P) you can leave a comment here or on my blog.
It
was nice to be back here! I’ll see you guys soon!
Have
a wonderful day! :D :D
Love,
Nikita...
<3